VALORANT fundamentals: a smarter route into ranked
Build better VALORANT habits with crosshair placement, controlled peeks, team economy, purposeful utility, post-plant decisions, and a focused practice routine.
Take these into your next session
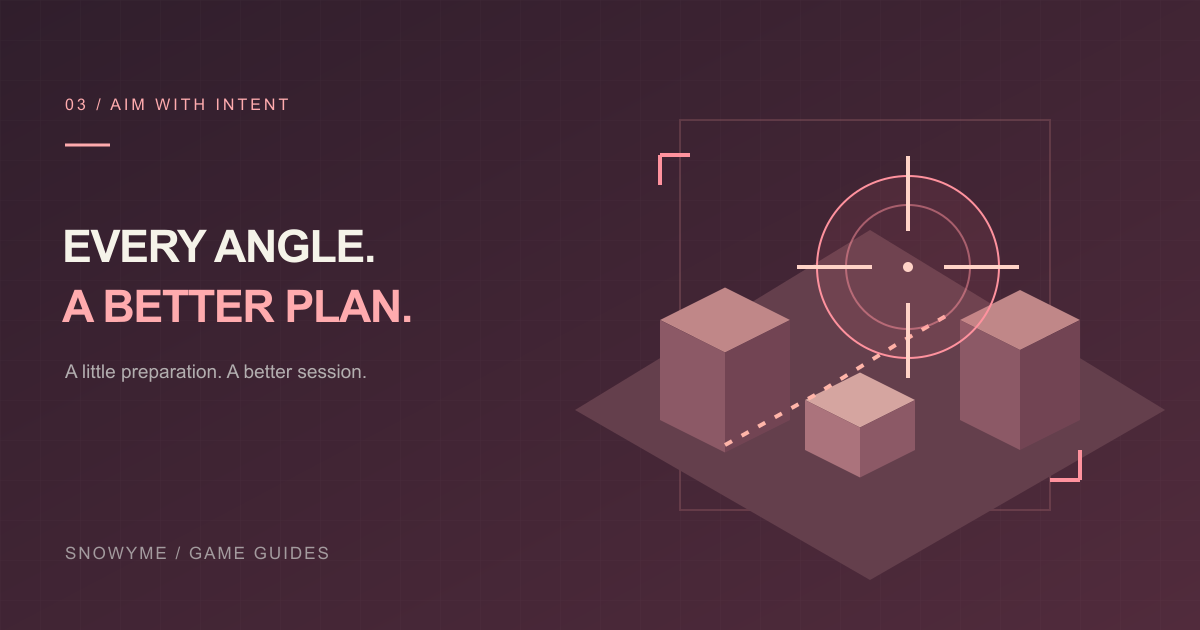
- Place your crosshair for the next likely opponent before you peek.
- Plan purchases around the team and the following round.
- Use utility to create an action, then review one repeatable mistake.
What this guide covers Standard PC tactical matches, with principles that also help on console. Weapon prices, agent abilities, maps, and ranked requirements can change. This is a fundamentals guide, not a patch-specific agent ranking.
VALORANT becomes easier to understand when you stop treating every death as an aim problem. You may have moved while shooting, exposed yourself to two angles, bought out of sync with your team, or used a key ability before anyone could act on it. Each mistake needs a different fix.
This guide builds a repeatable foundation for standard tactical matches. You do not need a large agent pool or a folder full of lineups. You need a comfortable setup, a small number of dependable actions, and a way to identify why a round became difficult before the final shot.
1. Set up for consistency before chasing precision
Choose settings that let you track an opponent smoothly and turn without repeatedly lifting or losing control of your input device. There is no universally correct sensitivity. Copying a professional player’s number also copies none of their desk space, grip, experience, or hardware.
For mouse input, DPI and in-game sensitivity work together. Keep both stable during a practice period so you can judge whether your movement is becoming more controlled. If you overshoot small adjustments repeatedly, lower the effective sensitivity gradually. If ordinary turns require uncomfortable movements, raise it slightly. Change one variable at a time.
Use a crosshair you can see against common map backgrounds without hiding the target’s head. Prefer readable feedback to elaborate styling. Make sure important audio is audible, while keeping volume comfortable, and check that performance remains stable during real combat rather than only in an empty practice area.
Learn how walking, running, crouching, and weapon switching affect your movement and information. Running can reveal your approach through sound; walking everywhere can make you late or expose you slowly. The right speed depends on whether concealment, timing, or immediate survival matters most.
2. Put the crosshair where the next head will be
Good crosshair placement reduces the distance you must correct after seeing an opponent. Keep it near expected head height and align it with the next relevant angle. Floor textures, boxes, and repeated architectural features can help you learn head height on each map.
Do not aim at the middle of an empty corridor simply because it looks visually centered. Ask where an enemy can appear next: the close corner, the doorway, or a raised platform. Clear one threat at a time when the geometry allows it. As you move, adjust your crosshair with the angle rather than waiting for an enemy to force a large flick.
The distance between your crosshair and the corner should reflect how you expect the opponent to move. An enemy swinging quickly may travel farther before you react than one carefully edging into view. Holding a pixel-perfect angle that you cannot react to can be less useful than giving yourself room for the expected movement.
In a practice area, rehearse a simple sequence: move sideways, stop, fire a controlled shot or short burst, then move again. With most rifles, movement heavily reduces accuracy. First learn to stop reliably before shooting. You do not need to master a complicated counter-strafe routine before this habit works.
3. Peek with a purpose and an escape
A peek should answer a question or create an advantage. Are you checking whether a lane is occupied, taking a duel with support, drawing a shot, or clearing space for the team? If you cannot name the purpose, you may be exposing yourself for information nobody can use.
Limit simultaneous angles. If you walk into a doorway visible from both a close corner and the far side of a site, excellent aim still leaves you guessing. Use geometry, teammate coverage, or utility to remove one of those threats before committing.
Stay tradeable. A teammate should be able to challenge the opponent who shoots you, but this does not mean standing directly behind you in the same line of fire. Coordinate a short timing window and complementary angles. If your teammate is reloading or watching another lane, your “supported” swing may actually be solo.
Avoid automatically crouching at the start of every duel. Crouching can help in specific committed sprays, but it also reduces mobility and may move your head into a lower opponent crosshair. At longer ranges, controlled bursts and a reset are often more reliable than a spray you can no longer steer. Practice the behavior appropriate to the weapon rather than applying one firing pattern everywhere.
4. Buy a round plan, not just a weapon
The team’s equipment matters more than one player’s impressive inventory. A rifle surrounded by teammates who cannot support the fight may be less useful than a coordinated lower-cost round followed by a strong full buy. Before purchasing, look at team credits, carried weapons, ability needs, and the buy menu’s estimate for the following round.
| Team situation | Useful discussion | What to avoid |
|---|---|---|
| Most players can afford a full loadout | Agree on weapons, protection, and key utility | Buying a premium weapon but having no utility for the site plan. |
| Several players cannot afford the intended buy | Save together or agree on a specific force plan | A mixture of expensive rifles and unsupported pistols by accident. |
| One player has excess credits | Offer a weapon drop so a teammate can buy protection and utility | Spending surplus without checking whether a teammate needs help. |
| You lost an expensive round | Check the next-round estimate before spending | Repeated half-buys that prevent the team from ever stabilizing. |
An eco round means preserving enough money for a stronger future purchase; a force buy intentionally spends despite limited resources. Neither is correct in every situation. Score, remaining rounds, enemy economy, saved weapons, and team agreement all matter. The final round of a half is different from an early round because unused money will not help after the reset.
After winning the pistol round, discuss how to convert the advantage instead of following a rigid rule in isolation. Upgraded weapons can punish a weaker enemy buy, but the team still needs spacing and sensible range choices. Losing expensive equipment to a close-range ambush can give the opponents both the round and your weapons.
5. Pick a small agent pool and learn the job
Start with one main agent and one comfortable alternative. Learn the purpose and limitations of each ability: its range, timing, what information it reveals, and whether it can affect teammates. Agent roles describe tendencies, not permission to ignore the rest of the match.
- Controllers help manage sightlines. A smoke is useful when it blocks a meaningful enemy angle at the moment your team moves.
- Initiators help gather information or disrupt defenders. Their value depends on someone being ready to act on the opening.
- Duelists often have tools for taking space or the first engagement. Entering alone long before support arrives wastes that opportunity.
- Sentinels often secure areas, watch routes, or make a hold difficult to attack. Their setup still needs to adapt when the team moves.
For each map, learn a basic action for attacking and defending on each site. An attacker might block a dangerous sightline, check a common corner, and move with a teammate. A defender might delay a push, communicate what was seen, then fall back to a tradeable position.
Do not let lineups replace understanding. A perfectly executed ability aimed at an empty site is still mistimed if your team already rotated. Learn one reliable use, then learn when to cancel it because the situation changed.
6. Attack in three stages: information, space, objective
At the start of a round, gather enough information to choose where pressure is useful. You do not need to reveal the entire defense, but walking into a stacked site without checking anything is avoidable. Watch for utility, sound, revealed opponents, and unexpected silence without treating any single clue as certainty.
Once the team commits, move close enough to support the entry and trade. Standing far behind while an initiator’s disruption expires wastes the opening. Conversely, racing ahead before the utility arrives turns a planned execute into an unsupported duel.
After taking a site, clear necessary corners and choose a plant location the team can defend. A fast safe plant is often better than an exposed “ideal” plant that gets the carrier eliminated. Communicate where the Spike is planted so teammates know which lines of sight matter.
In a post-plant, the objective is to stop the defuse, not collect every remaining elimination. Use positions that let teammates trade and watch relevant approaches. If everyone hunts away from the Spike, a defender can gain the time they need. If everyone hides too far to contest, a similar problem appears.
7. Defend without turning every sound into a rotation
An early noise cue or piece of utility is information, not proof that all opponents are committing. Tell teammates what you actually know: “Two footsteps and a flash near A,” rather than “Everyone A” unless you have evidence. Accurate uncertainty is more useful than confident guessing.
If pressured, your first task may be to delay and survive. An ability that slows the push and lets you retreat can create a stronger retake than fighting to the death for one elimination. Give teammates time to rotate, and avoid surrendering every important route while doing so.
When retaking, regroup enough to challenge together. Five players arriving one at a time give defenders of the planted Spike several manageable duels. Check the remaining time, available utility, and whether you can reach the Spike safely. Sometimes saving equipment is the best remaining option; sometimes an urgent coordinated attempt is necessary.
In standard rules, planting takes about four seconds, the planted Spike has a 45-second timer, and a full defuse takes seven seconds with a halfway checkpoint. These timings explain why a tap is not a completed defuse and why a late chase can lose the round. Practice recognizing the situation rather than trying to calculate everything during a panic.
8. Communicate an action, then make space for sound
A useful callout includes location, amount of evidence, and intention: “One seen back site; I am flashing in three.” Keep it short enough that teammates can still hear the game. If your information becomes old, stop presenting it as a live position.
After dying, give the relevant location and confirmed damage if useful, then let living players concentrate. Repeated instructions can drown out the very footsteps they need. Use pings when you do not know the map’s callout yet, and learn the names gradually.
Do not build the plan around blaming a teammate’s last round. Replace “you never trade” with a concrete request: “I will peek after your flash; stay close enough to swing with me.” The second message creates a timing both players can follow.
9. A practice routine that connects to matches
Use five minutes for controlled shooting and stopping. Follow with a short movement-and-angle drill on a map you play, focusing on where your crosshair should be before contact. In deathmatch or an appropriate practice mode, choose one constraint, such as no panic crouching or short bursts at distance. The scoreboard is secondary to the habit.
Play a match with one decision goal: buy with the team, remain tradeable, or save key utility for a planned action. Afterward, review a few deaths through a replay or recording if available. Ask what happened immediately before the duel: were you moving, checking two angles, re-peeking, or using an ability in the open?
Write one change for the next match. “Improve aim” is too broad. “Stop before the first rifle shot” or “wait until my teammate can trade before peeking” is something you can notice and repeat. Once it becomes stable, add the next habit.
Frequently asked questions
Which agent should a beginner choose?
Choose an agent whose basic job you understand and whose abilities you can use without abandoning gunplay. Try several in practice, then narrow your pool. A simple, well-timed contribution is more useful than selecting a fashionable agent whose toolkit you cannot yet coordinate.
Should I always aim down sights?
No. ADS behavior depends on the weapon and situation and can change handling or rate of fire. Many ordinary rifle duels are played without it. Learn what ADS changes for your chosen weapon and use it deliberately for an appropriate distance or angle.
Why does good practice aim disappear in ranked?
Practice targets do not create the same movement, angle, economy, and timing problems. Watch whether you are moving while firing or starting with the crosshair far from the opponent. Fixing the setup often makes your existing aim usable in real rounds.
Sources & version notes
Use these references alongside the guide to check changing rules, availability, and update details. Community-maintained references are identified below. Strategy examples above are Snowyme's editorial guidance.
- VALORANT: Beginner's Guide ↗
Official introduction to match structure, agents, and weapons.
- VALORANT News and Patch Notes ↗
Verify current ability behavior, map pools, and balance changes here.
An independent guide by Snowyme. Not affiliated with or endorsed by the game's publisher. Cover artwork is an original strategy illustration, not an in-game screenshot.